Key takeaways
- If your cover shows film lifting or repeat emboss patterns, photograph and test a small area before repair.
- Rule of thumb: spot repairs can add months to a year for small peels; large-panel delamination usually needs reupholstery.
- Common pitfall: using rigid glue or heat can worsen delamination. Use flexible adhesives and allow full cure.
What bonded leather means, why it fails, and realistic lifespan bands
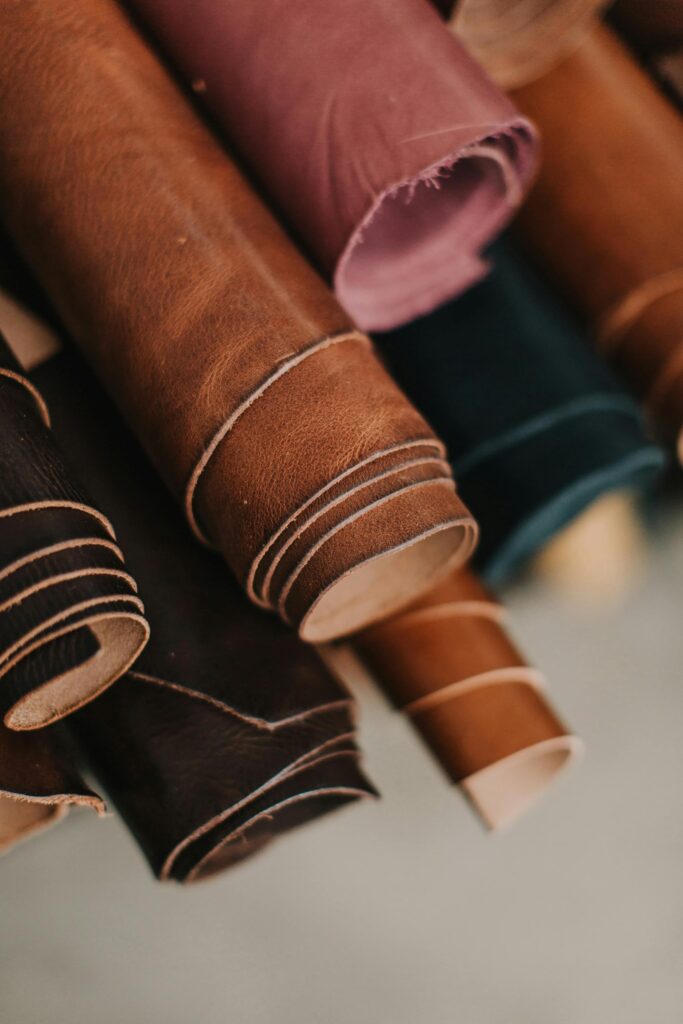
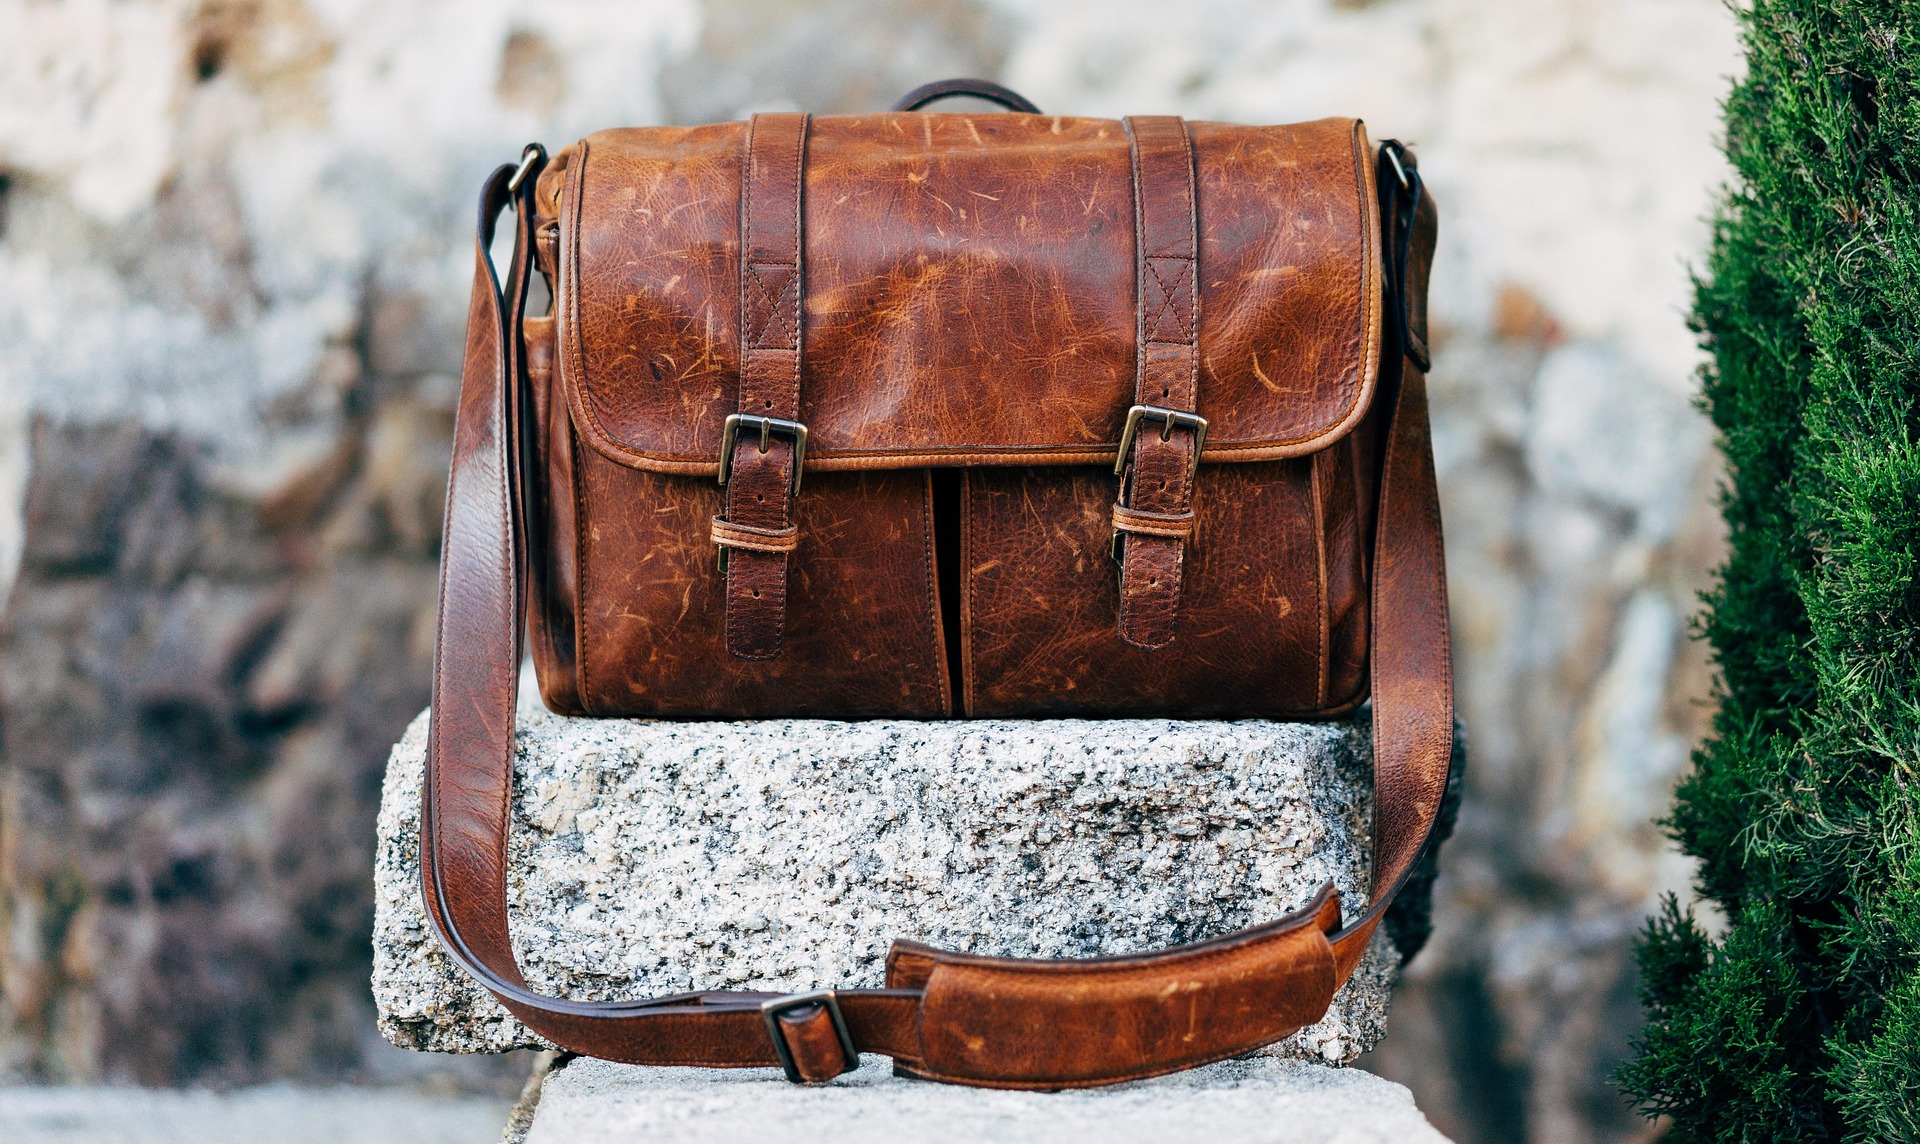
Bonded leather is a layered product made from shredded leather fragments mixed with a binder and placed on a backing. A thin polyurethane or similar finish is usually applied over the mix to give a leather-like look. Delamination and surface failure occur when the binder or top coating loses adhesion to the leather pulp or becomes brittle from heat, UV, or abrasive wear.
For testing claims like colorfastness and abrasion, the industry uses standard methods such as AATCC colorfastness tests and ASTM abrasion tests. See AATCC test methods for colorfastness and ASTM D3884 for abrasive wear guidance. AATCC test methods and ASTM D3884 abrasion.
Realistic lifespan bands (practical)
- Heavy use: daily use with kids or pets — expect the shortest useful life and higher risk of peeling.
- Moderate use: adults with occasional guests — moderate life; spot repairs may be worth doing.
- Light use: guest rooms or formal rooms — longest life among bonded-leather items, but still less than top-grain leather.
[Experience Note] Shops commonly see failures start at arm tops, seams, and cushion edges. Those areas concentrate flex and adhesive stress.
Before repair or purchase, require written labeling and materials info. For chemical concerns such as phthalates, consult regulatory pages like the CPSC guidance on restricted phthalates in children’s products. CPSC / CPSIA guidance.
For procurement, document expected use band, ask for fabric/backing swatches, and request sample panels for adhesion and color rub checks before ordering large quantities.
Quick comparison: bonded vs genuine vs faux (practical)
| Material | Typical durability | Repairability |
|---|---|---|
| Bonded leather | Short to moderate; sensitive to heat and abrasion | Patchable for small peels; full panels often need reupholstery |
| Genuine leather (top grain) | Long; forms a patina and can be refinished | Refinish or repair; durable long-term |
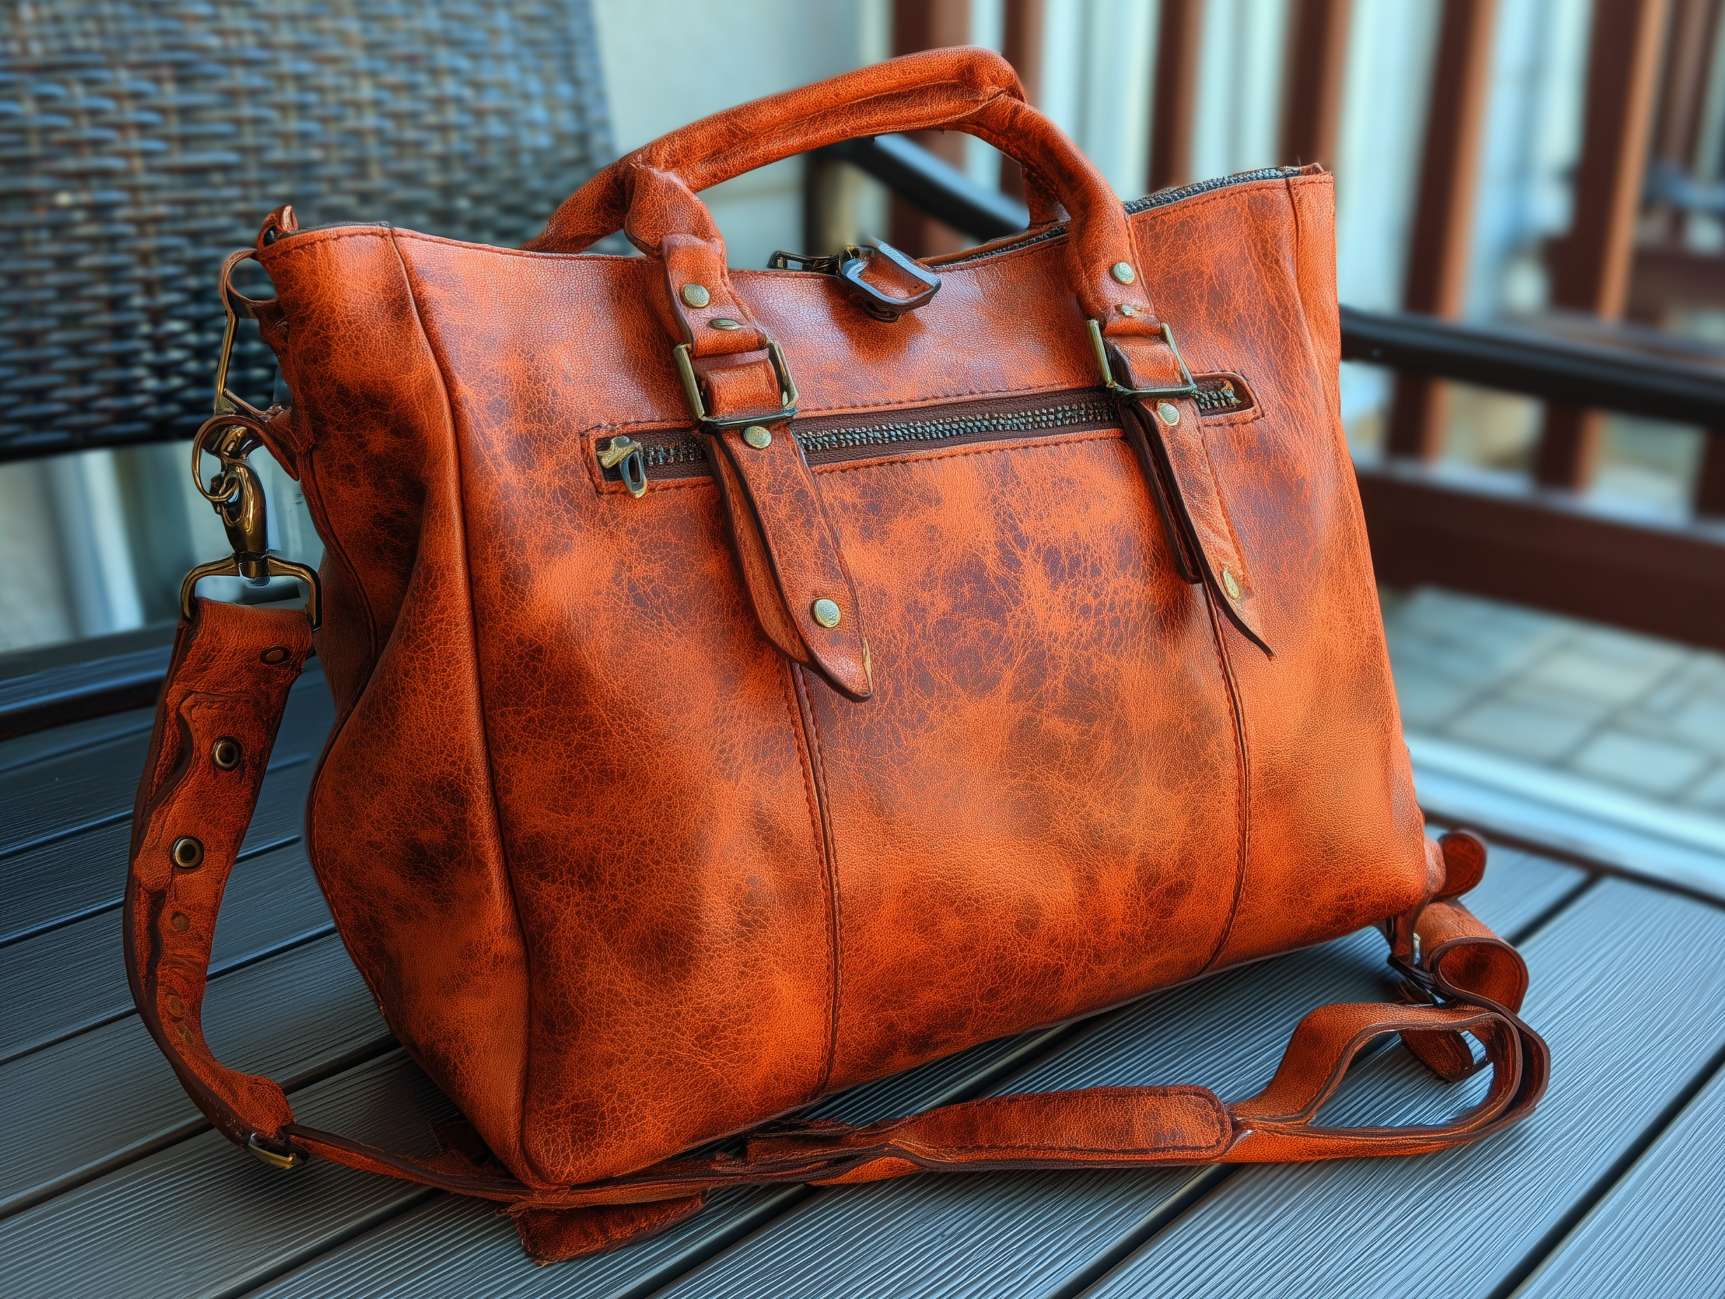
| Faux leather (PU) | Moderate; stable but can crack over time | Patches or recover; depends on backing |
Use the comparison when deciding spot repair versus full cover replacement. If more than one full panel shows delamination, reupholstery is usually the durable option.
Assessing damage and quick home checklist
Follow this non-destructive checklist to diagnose delamination and estimate remaining service life.
Visual and tactile checks
- Look for repeating emboss patterns — those indicate a printed or coated finish.
- Press gently at an edge. If the top layer lifts as a thin film, you have delamination.
- Document damage with photos and a ruler for scale. Record location, sunlight exposure, and recent cleaners used.
Simple tests for QC
- Dry rub test for color transfer: use a white cloth and rub firmly in an unseen spot.
- Edge check: inspect seam corners and flange edges for early lifting.
Keep these records when you seek repair quotes. They speed estimates and clarify if foam or frame work is also needed.
Step-by-step DIY repair for small peels
These steps are for small, local film lifts only. If large areas lift, stop and get pro quotes.
Materials
- Soft lint-free cloth, isopropyl or mild cleaner
- Flexible leather contact adhesive or flexible PVA adhesive
- Thin repair filler or leather paste, small spatula, fine texture pad
- Colorant (dye balm) for final blending
Procedure
- Clean the area and let it dry.
- Trim only loose film edges. Do not cut into sound material.
- Apply a small amount of flexible adhesive under the lifted film. Use a thin tool to spread it evenly.
- Press the film down and hold with light clamps or a weighted block. Keep pressure even across the repair.
- If surface loss exists, apply a thin filler, texture it to match grain, and let it cure fully.
- Match and apply colorant in thin layers. Allow full cure before use.
[Experience Note] Typical hands-on time for a small repair is short. Allow at least a day for adhesives or fillers to reach handling strength before seating. For specific materials, check the manufacturer’s cure times and SDS.
When to call a pro and procurement checklist for reupholstery
Choose professional help when damage spans multiple panels, seams split, or foam and frame work is required. A pro can also match backing and choose a suitable replacement cover.
Questions to ask suppliers
- Lead time and stage breakdown (pick-up, work, return).
- Material cost per yard or per hide, and whether they will use bonded, PU, or genuine leather.
- Warranty on workmanship and adhesive adhesion for at least 30 days.
- Request a sample panel for adhesion and color rub tests before approving full runs.
For repair intake, prepare photos, measurements, and use our repair checklist and pre-purchase inspection guidance to speed estimates: what is PU leather and leather vs synthetic.